REVEAL DAY

Cooler weather, hopefully, and FOOTBALL means it is Fall in Texas. I love how the newest Front Porch Kit includes the two. The are many possibilities with the contents of this kit.
You may order your It's Fall Y'all kit online at:
or by calling or visiting:
The Little Blue House
118 West Olive St.
Keller, Texas 76248
(817) 431-7930
Anticipation! I have been excited to show everyone the projects I created with the newest Front Porch Kit - I'ts Fall Y'all, so here goes.
Family is Everything - Double Layout

It's Fall Y'all - Double Layout

Game Day - Single Layout

Happiness Found - Single Layout

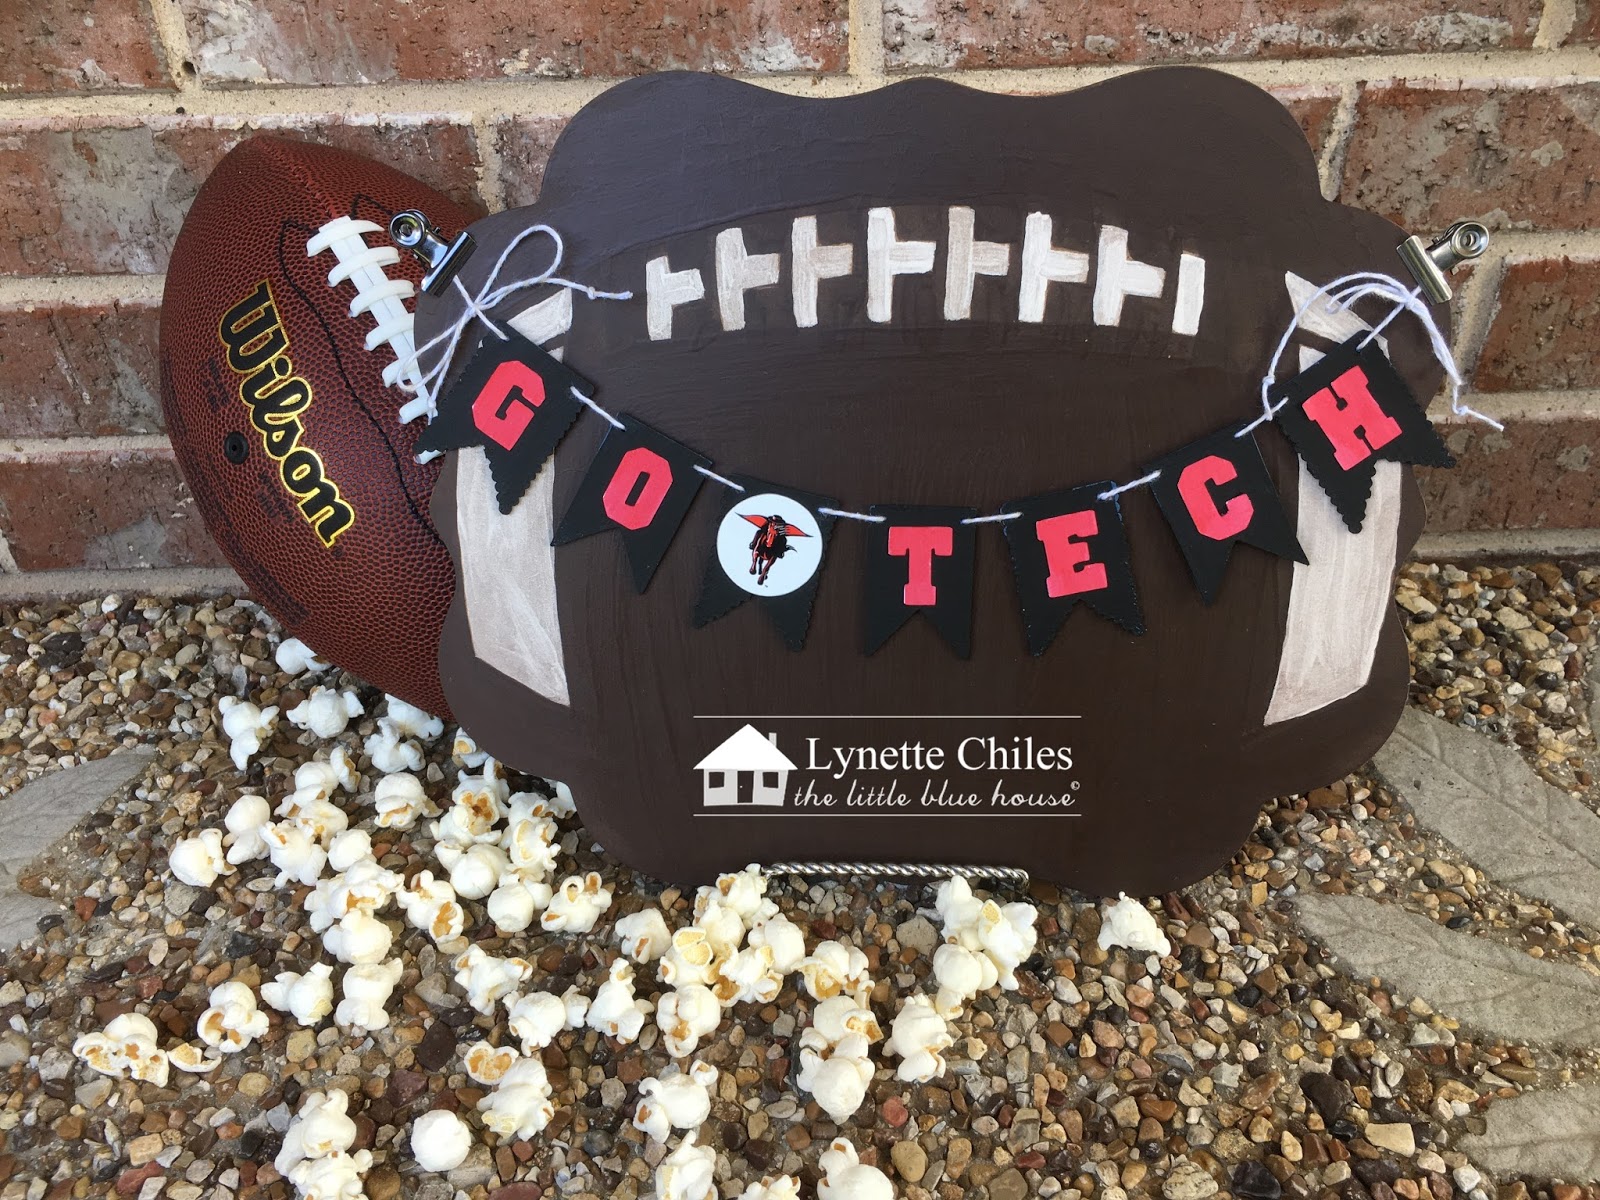
Football Popcorn Treat Container

Game Day Team Sign

And the banner is reversible.
Be sure to visit the Design Team's Blogs for their reveals.
If you are local visit The Little Blue House to see the Blueprint Projects and local Design Team Members projects on display.


.jpeg)
.jpeg)
.jpeg)
.jpeg)
.jpeg)
.jpeg)
.jpeg)
.jpeg)


.jpg)
.jpg)
